What Is a Microscope for Kids?
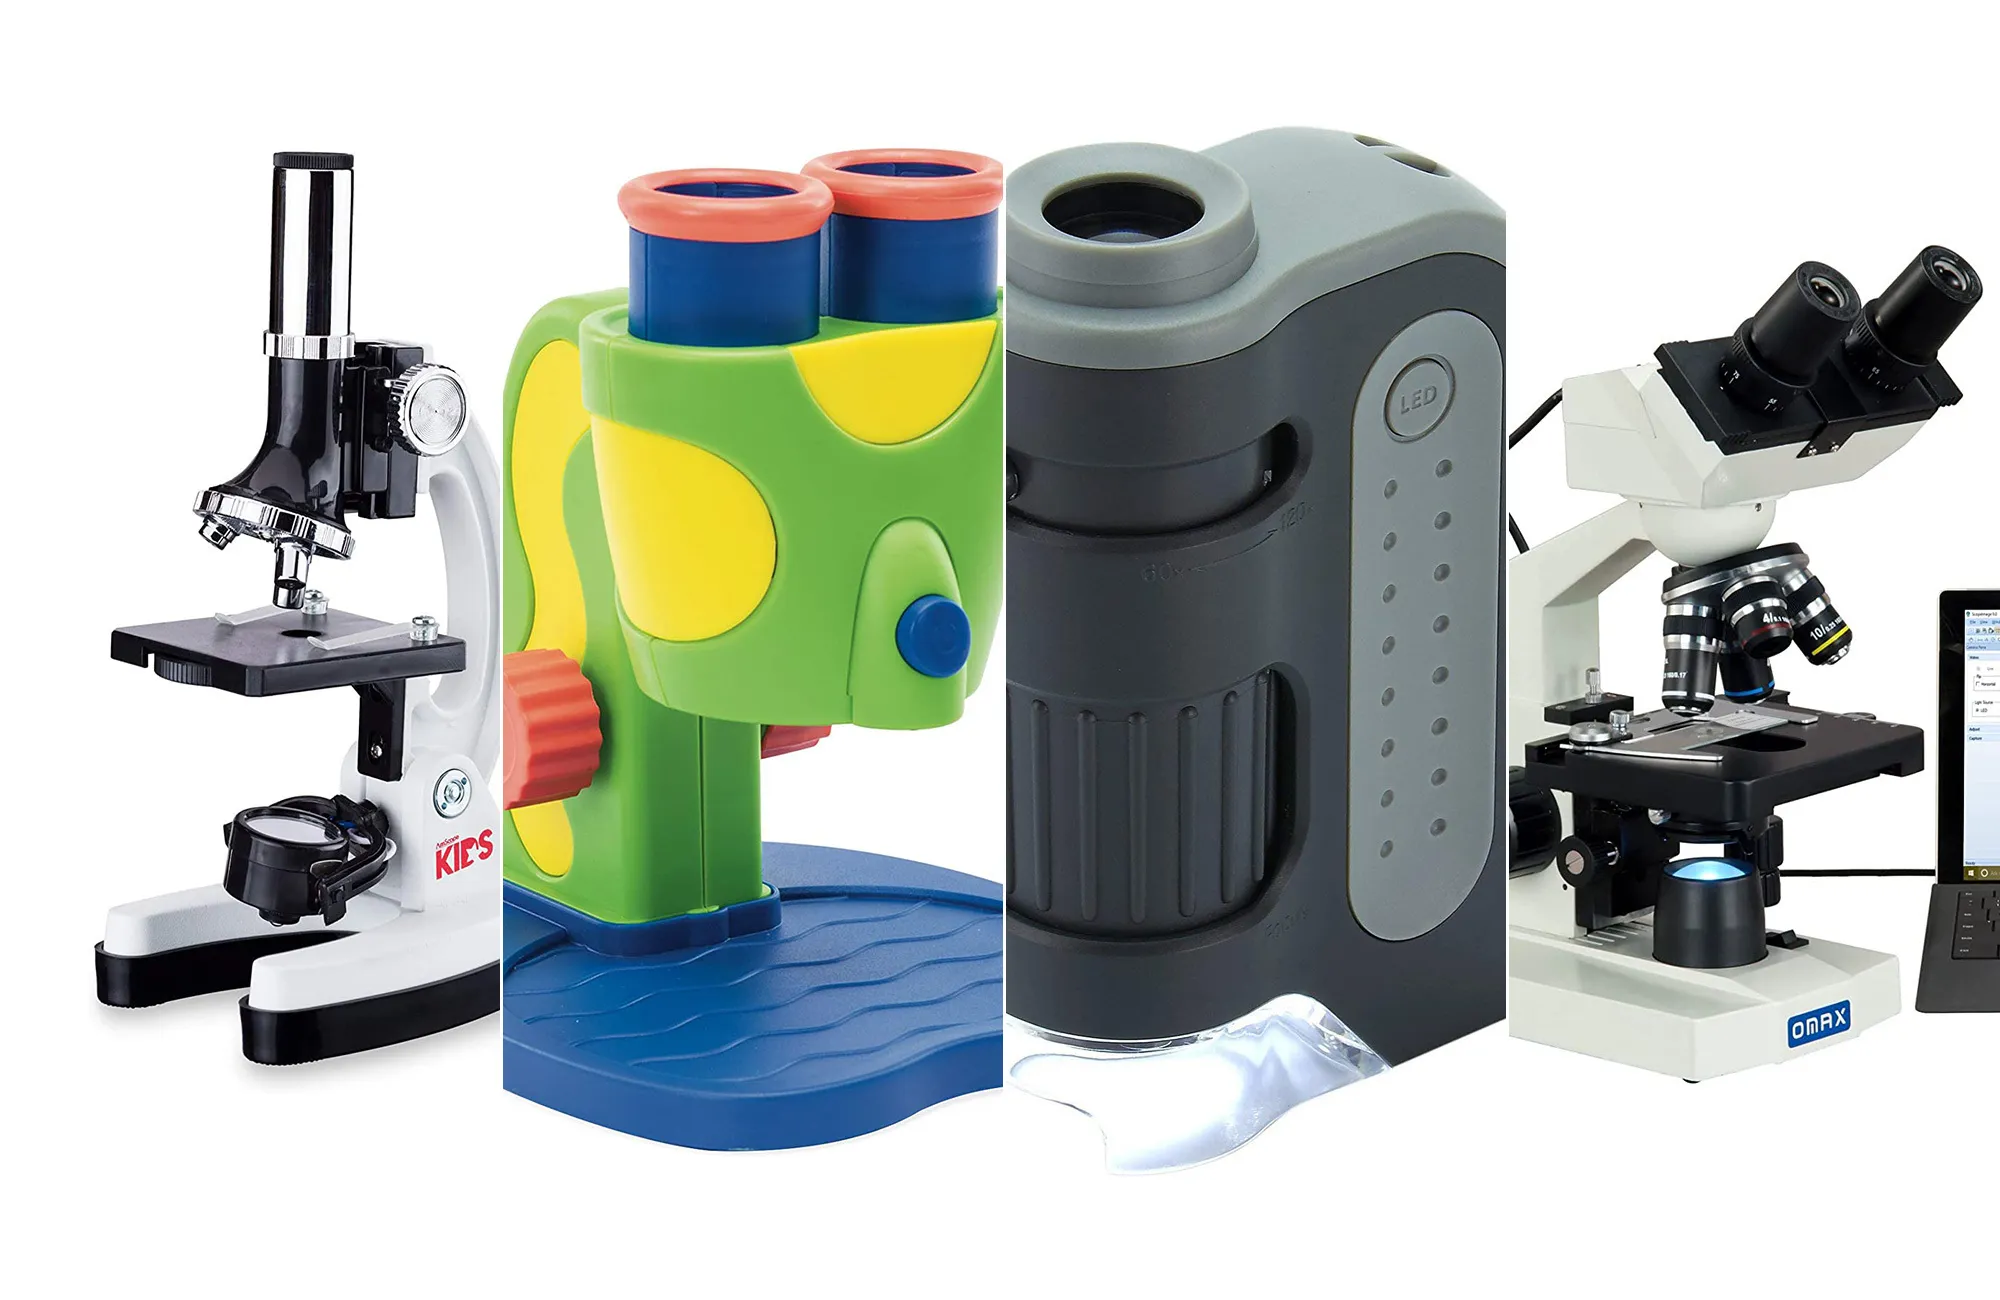
A microscope for kids is a child-friendly optical or digital instrument that magnifies small objects such as leaves, hair, salt crystals, and pond water. Good ones use LED lighting, simple focus controls, and sturdy bodies, with magnification suited to the child’s age.
The category covers a wide range. At one end are talking toys for preschoolers. At the other are real compound microscopes that a middle schooler can use for a science fair project.
The label “kids” tells you who it is designed for, not how good the optics are. That difference decides whether a child is amazed or frustrated.
Why Choosing Well Matters
A good first microscope turns everyday objects into discoveries. A bad one produces a blurry smear, and the child stops asking to use it within a week.
Most disappointment comes from three things: a magnification number that sounds impressive but delivers a dim, soft image, plastic optics, and a model that doesn’t match the child’s age or patience.
Choosing well means matching the instrument to the child, not buying the biggest number on the box.
Who Is a Kids’ Microscope For?
- Curious young children (about 3–5): They want to look, touch, and hear a fact. Simple, low-magnification, toy-style models work best.
- Early school-age children (about 6–8): They can learn to focus and place a specimen. A first “real” microscope with low power and bright LED light fits well.
- Older children (about 8–12): They can handle slides, multiple objectives, and basic technique. A compound microscope with glass optics makes sense here.
- Teens and serious hobbyists: They may outgrow kids’ models quickly and benefit from an entry-level student compound microscope.
- Teachers, homeschoolers, and group leaders: They need durability, easy maintenance, and enough units for a group.
How a Microscope Works (in Plain Language)
Light passes through or reflects off the specimen. An objective lens near the specimen forms an enlarged image, and the eyepiece magnifies it again for your eye.
On a compound microscope, total magnification equals the eyepiece power multiplied by the objective power. A 10x eyepiece with a 40x objective gives 400x.
Magnification alone is only half the story. Resolution, which is how much fine detail you can actually distinguish, depends on lens quality. A cheap lens can enlarge an image and still show nothing new.
Types of Kids’ Microscopes
Each type suits a different child and a different goal.
| Type | Best for | Typical magnification | Main trade-off |
| Toy or “talking” microscope | Ages 3–5, play-based learning | Very low | Limited detail |
| Low-power stereo-style (dual LED) | Ages 6–8, looking at solid objects | Roughly 20x–50x | Won’t show cells |
| Compound microscope | Ages 8+, slides and cells | Roughly 40x–1000x | Needs slide skills, more care |
| Handheld or pocket microscope | Outdoor exploring, young kids | Low to moderate | Less stable, smaller field |
| Digital microscope with screen | Sharing views, photos, shy starters | Varies widely | Image quality depends on the sensor |
Compound microscopes
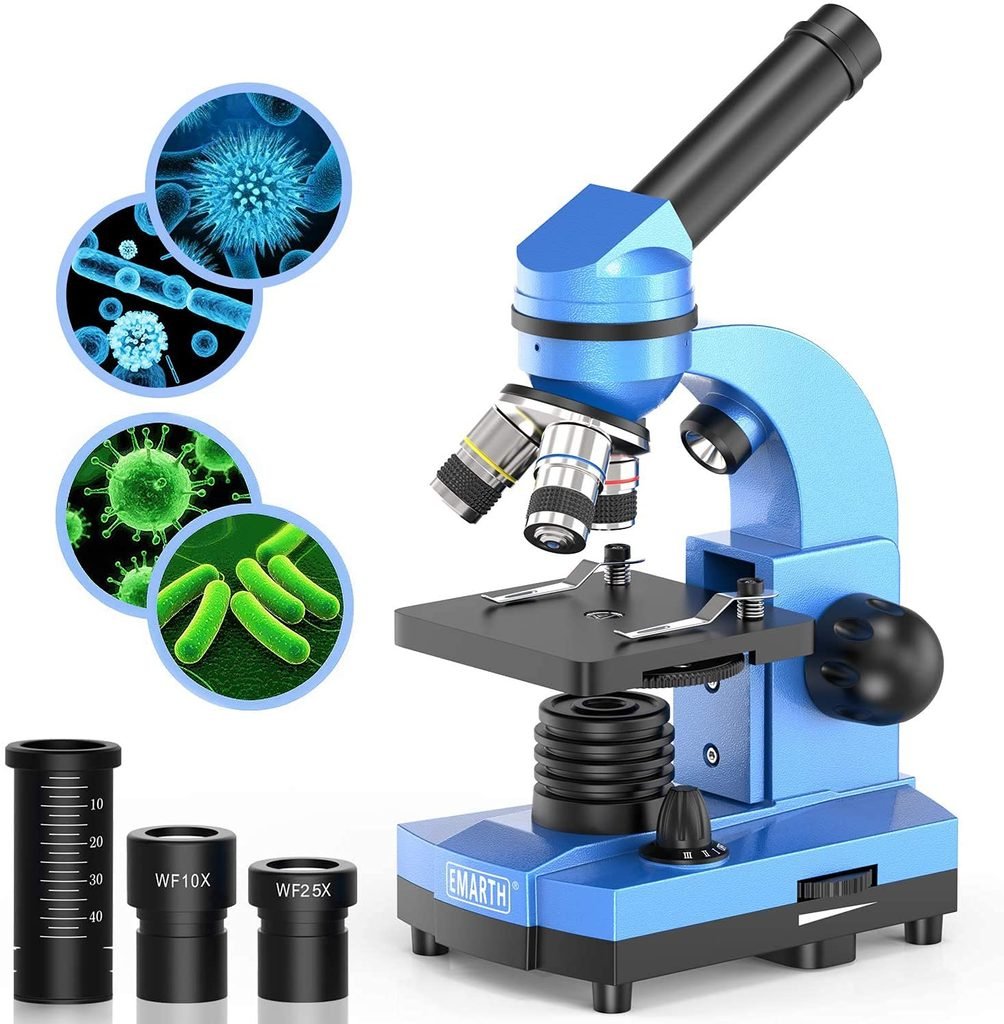
These are the closest thing to a lab microscope. They view thin, translucent specimens on slides, such as onion skin or pond water, with several objective lenses on a rotating turret.
They teach real skills: focusing, adjusting light, and handling slides. They also take more patience.
Low-power stereo-style and dual-LED models
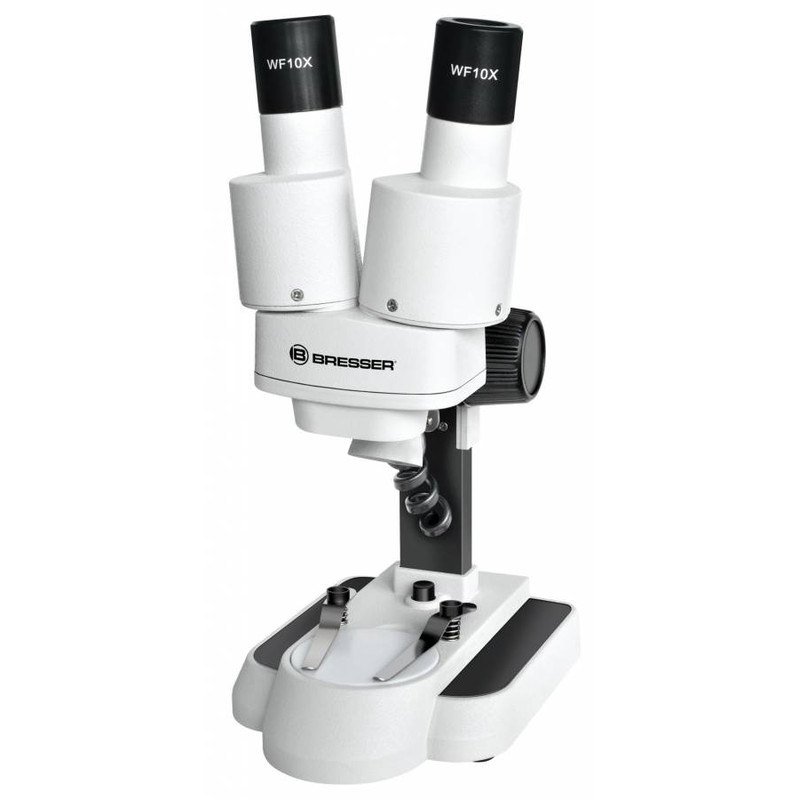
Stereo (dissecting) microscopes show solid objects in relief, like coins, leaves, insect wings, and rocks. Kids’ versions usually offer fixed low magnification and light from above and below.
They are forgiving and quick to use. The limit is that low magnification won’t reveal individual cells.
Digital and handheld microscopes
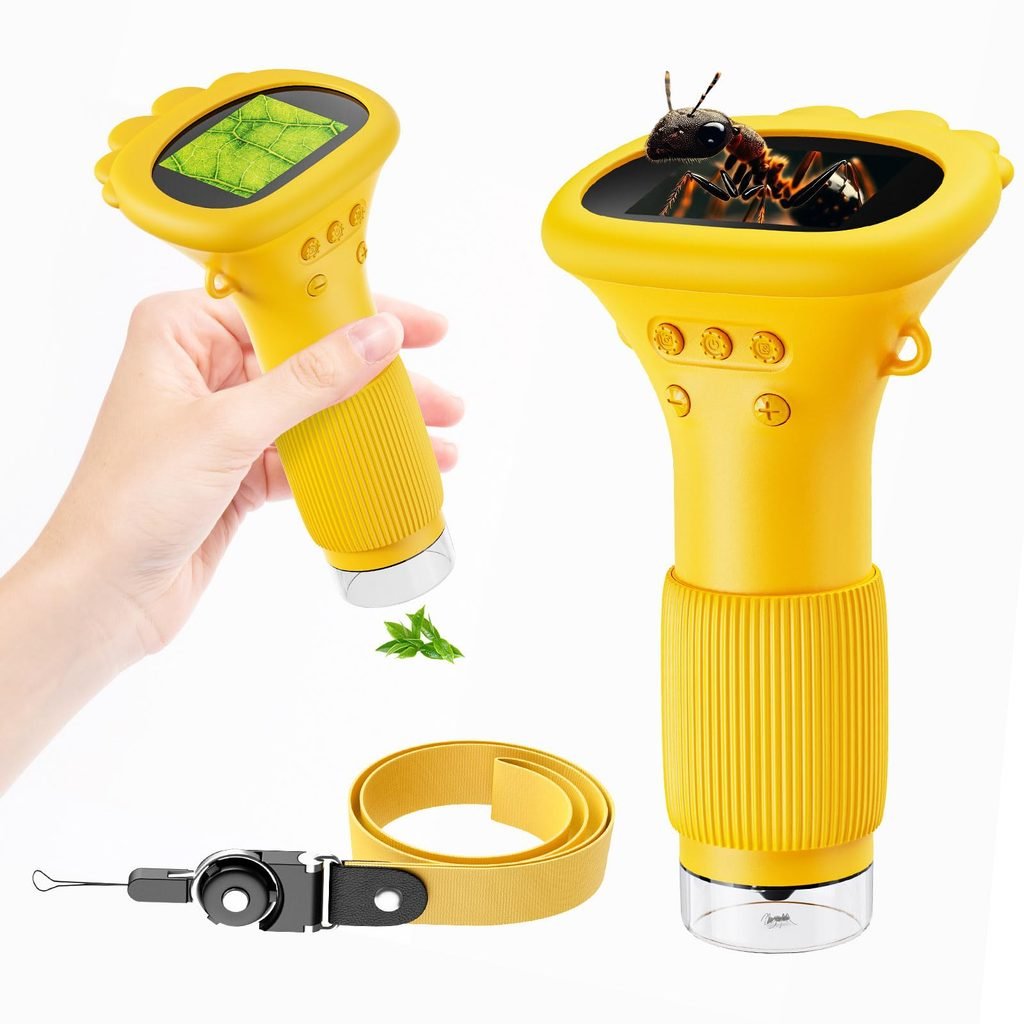
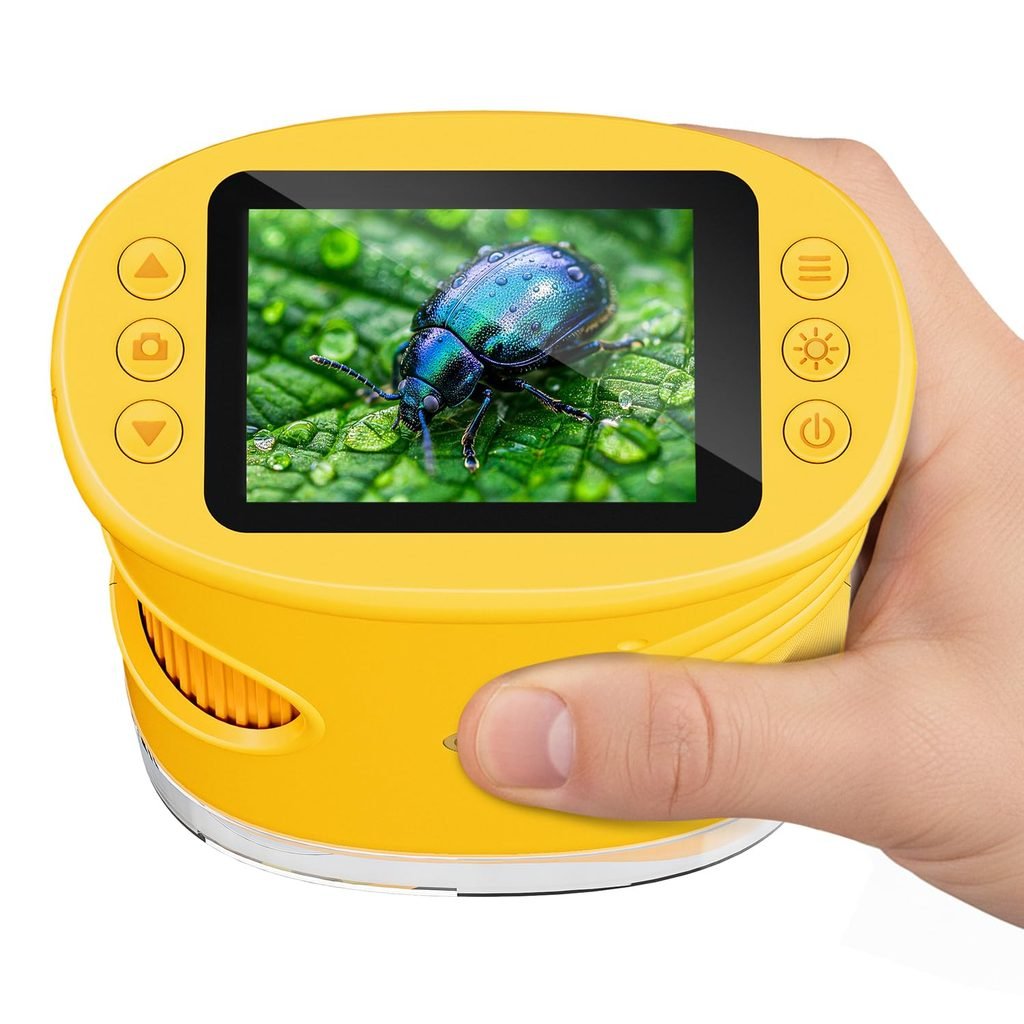
A digital microscope shows the image on a screen, so the whole family can look at once, and photos are easy to save. Some connect to a phone or tablet.
Handheld versions are great for exploring the garden or the park. Check the sensor quality and screen clarity, because “1000x” on a small sensor often means a digital zoom stretch rather than extra detail.
The Specs That Actually Matter
Magnification: why bigger isn’t better
Many kids’ microscopes advertise 1000x or 1200x. On an inexpensive instrument with plastic lenses, those numbers usually don’t produce a usable image.
A 400x microscope with glass optics and good light will often show more than a 1200x toy. For most children, 40x–400x is the sweet spot. Under about 8 years old, lower power is easier to use.
Glass vs plastic optics
Glass lenses give sharper, brighter images and hold their alignment better. Plastic lenses are lighter and cheaper but scratch more easily and blur at higher power.
If your budget allows one upgrade, choose glass optics before extra accessories.
Lighting
LED illumination is standard on modern kids’ models. It stays cool, lasts long, and doesn’t need a mirror and a window.
Dual lighting, from above and below, lets a child view both solid objects and thin slides.
Build quality and focus
A metal frame handles drops better than a light plastic one. Look for smooth, stable focus knobs, because a wobbly focus is a frequent reason kids give up.
Younger children often do better with a single, simple focus control.
Power
Battery-only models travel easily but need fresh batteries. Models with a USB or plug-in option are better for classrooms or long sessions.
A Simple Decision Framework: Age × Goal × Budget
Use this to shortlist quickly.
| Child’s age | Main goal | Suggested type | What to prioritize |
| 3–5 | Play and wonder | Toy or talking microscope | Safety, simple controls |
| 6–8 | First real look | Low-power dual-LED model | Bright light, sturdy build |
| 8–12 | Cells and slides | Compound, glass optics | Optics quality, kit slides |
| 8–12 | Sharing and photos | Digital with a good screen | Sensor and screen quality |
| Any age | Outdoor exploring | Handheld or pocket | Portability, durability |
| Group use | Classroom or co-op | Multiple compound units | Durability, easy cleaning |
Then check the budget. Kids’ microscopes generally run from the low teens to around a hundred dollars or more, depending on type and region. Prices change often, so compare current listings.
A rough rule: spend more on optics and build, and less on the pile of accessories.
What Comes in a Kit (and What’s Often Missing)
Most kits include prepared slides, blank slides, a few tools, and a guide. Check for these:
- Prepared slides: Useful at the start, but quality varies.
- Blank slides and cover slips: Essential for making your own samples, and they are sometimes missing or too few.
- Tweezers, droppers, and a petri dish: Handy, but plastic versions can feel flimsy.
- A clear guide: One that explains what to look at, not just the parts.
Glass slides and cover slips are sharp and thin, so younger children need supervision.
Brands You’ll See
Common names include National Geographic, AmScope, Celestron, Omano, Carson, Bresser, and the GeoSafari line from Educational Insights. Each offers different tiers, from toy-style models to proper student microscopes.
Brand matters less than the specs. Compare optics, magnification, lighting, and build rather than the logo, and check recent reviews that mention the child’s age.
Safety and Toy Standards
Most kids’ microscopes are sold as toys or educational products, so they typically follow toy safety standards such as ASTM F963 in the United States and EN 71 with CE marking in Europe. Always check that a product states an age grade and that it fits your child.
Basic safety habits:
- Supervise young children, especially with glass slides and tools.
- Keep small parts away from children under 3.
- Use the right batteries and close the battery compartment properly.
- Never point mirrors or the microscope’s light at the sun.
Common Mistakes to Avoid
- Buying by the biggest number. High claimed power rarely means a better view.
- Ignoring age fit. A complex microscope can overwhelm a five-year-old.
- Skipping blank slides. Kids want to look at their own samples.
- Choosing plastic optics to save a few dollars. The image quality is rarely worth the saving.
- Forgetting setup. A poor spot and dim light can make a good microscope look bad.
How to Use a Microscope for the First Time
- Place it on a steady table near an outlet or with fresh batteries.
- Turn on the light and start with the lowest objective.
- Put the specimen or slide on the stage and secure it with the clips.
- Look through the eyepiece and turn the focus knob slowly until the image sharpens.
- Move the slide gently to scan the area.
- Switch to a higher objective only after the image is sharp at low power.
- Turn off the light, return to the lowest objective, and cover the microscope.
For a digital model, start the same way, but focus while watching the screen.
What Can Kids See? Five First Experiments
- Onion skin: Peel a thin layer and place it on a slide with a drop of water. At higher power, the cell walls appear.
- Salt and sugar crystals: Look at the different crystal shapes.
- A strand of hair or a thread: Compare textures and thickness.
- Pond or puddle water: A drop can show tiny moving organisms at moderate power. Wash hands afterwards.
- A leaf or insect wing: Low-power models show veins and patterns clearly.
Encourage children to draw what they see. It builds attention and fits well with school science standards such as the Next Generation Science Standards (NGSS) in the US.
Caring for the Microscope
- Cover it when not in use, and carry it with both hands.
- Clean lenses with a soft lens cloth or blower, never with fingers or rough fabric.
- Wipe the stage gently and keep slides dry.
- Remove batteries during long storage.
Buying for a Classroom, Homeschool, or Group
Groups need different things from families.
- Durability: Metal frames and fixed objectives handle shared use better.
- Simplicity: One focus control and clear light settings reduce mistakes.
- Quantity: Compare per-unit cost, spare parts, and whether bulk or school pricing is offered.
- Consumables: Plan for extra slides, cover slips, and lens cleaning supplies.
- Curriculum fit: A set that supports basic cell observation helps elementary and middle school science units.
For small co-ops, starting with two or three good compound models and a few digital units for sharing often works well.
Alternatives to a Microscope
If a full microscope feels like too much, there are good stepping stones:
- A magnifying glass or jeweler’s loupe for outdoor exploring.
- A handheld digital microscope for quick looks and photos.
- A visit to a science museum or school lab to try different instruments before buying.
Availability differs by country, so check local retailers and school suppliers, and look at what shipping and warranty options apply in your region.
Practical User Experience
The first thing a new user notices is how quickly the type of microscope shapes the whole session. A simple low-power model feels easy to pick up: switch on the LED, place a leaf or a few salt crystals on the stage, and something recognizable appears almost at once. A compound model asks for more patience. Turning the focus knob slowly and starting at the lowest objective takes a little practice, and a wobbly focus is where many children lose interest.
Lighting makes a clear difference. Dual lighting from above and below is convenient because the same microscope handles solid objects and thin slides. A metal frame feels more reassuring in small hands than a light plastic one, especially if the microscope gets moved around.
Beginners may find slides fiddly at first. Blank slides and cover slips are worth having, since children usually want to look at their own samples, and glass slides need an adult nearby. An onion skin layer is a gentle place to start.
There are limits. A very high magnification claim on an inexpensive model may give a dim, soft image, and low-power models won’t show individual cells. Battery-only models also need fresh batteries for longer sessions.
Overall, it seems easy to live with when the age fit, glass optics, and focus control are right, and frustrating when they aren’t. That is an impression drawn from the article’s information, not from hands-on use.
Frequently Asked Questions
1.What magnification is best for a child?
For most children, 40x to 400x is plenty. Younger kids do better at the lower end. Glass optics and good lighting matter more than a high number.
2.What age can a child start using a microscope?
Many children enjoy simple models from around age 3 to 5 with help. Real compound microscopes suit about age 8 and up, though a patient 6- or 7-year-old can start with supervision.
3.Are kids’ microscopes worth it?
They can be, if you choose one with decent optics and an appropriate age fit. A well-chosen model builds curiosity for years, while a poor one gets abandoned quickly.
4.Are glass lenses better than plastic?
Yes, in most cases. Glass gives sharper, brighter images and lasts longer. Plastic is cheaper but blurs more at higher magnification.
5.What can kids look at under a microscope?
Onion skin, salt and sugar crystals, hair, fibers, leaves, insect wings, and a drop of pond water are all good starting points. What they can see depends on the magnification.
Is a digital microscope good for kids?
It can be. The screen makes sharing easy and removes eyepiece frustration. Check sensor and screen quality, since digital zoom can look impressive on paper and soft in practice.
Is a microscope safe for children?
Generally yes with supervision. Take care with glass slides, small parts, and batteries, and look for products with a stated age grade and toy safety markings.
How do you clean a microscope lens?
Use a blower to remove dust, then a soft lens cloth. Avoid touching lenses with fingers, and don’t use household cleaners.
Can a microscope be used in a classroom?
Yes. Choose sturdy compound models with simple controls, and plan for extra slides and cleaning supplies.
Conclusion
The best microscope for kids is the one that fits the child’s age, shows a clear image, and survives real use. Prioritize glass optics, LED lighting, and sensible magnification over bold numbers on the box.
Your next steps:
- Decide the child’s age band and the main goal (play, school, or serious interest).
- Set a budget and spend it on optics and build first.
- Check that the kit includes blank slides and cover slips.
- Confirm the age grade and safety markings.
- Start with the lowest power, try the five first experiments, and let the child choose what to look at next.
Unfulfilled Points: An author or reviewer bio, a stated testing methodology, and original eyepiece photos could not be included because they need your own credentials and images. ASTM F963 and EN 71 applicability should be confirmed for your target markets before publishing.
These information are gathered from different surveys, medical tests and tech giants like Techradar and more. Our top priority is to provide you valuable information about label of a Microscope for Kids.
For More Details About Different Digital Microscopes Click Here